A place for me to post about my miniature gaming hobby experiences. This will hopefully include some advice and information that will be useful to others who share this hobby. Mostly it will be a way for me to keep track of my progress on various gaming projects.
Monday, November 29, 2010
Painting Renegade Imperial Guard Infantry Unit
Step 1 - Prime with White spray primer.
Step 2 - Khemri Brown on bases.
Step 3 - Snot Green on coats.
Step 4 - Chaos Black on fur hats.
Step 5 - Shadow Grey on boots, gloves, hair, and non-metal weapon parts. The Ensign gets Shadow Grey on his hat.
Step 6 - Light grey (probably Fortress Grey or Astronomican Grey) drybrush on fur hats.
Step 7 - Boltgun Metal on metal weapon parts, armor, and boot clasps.
Step 8 - Shining Gold on belt buckles, hat eagle plates, and officer epaulets and buttons.
Step 9 - Badab Black wash on weapons and gloves.
Step 10 - Elf Flesh on face and hands.
Step 11 - Skull White on straps, shoulder stripes, belts, pants, and tassels.
Step 12 - Vallejo Squid Pink on cuffs, turnbacks, and trim. I also used it on tongues of any figures with open mouths.
Step 13 - Base with a little bit of light ballast, followed by a little bit of fine sand, and cover the rest of the base with course modeling sand. A second layer of modeling sand might be necessary where the attached plastic base of the figure meets the round base to fill in the gap.
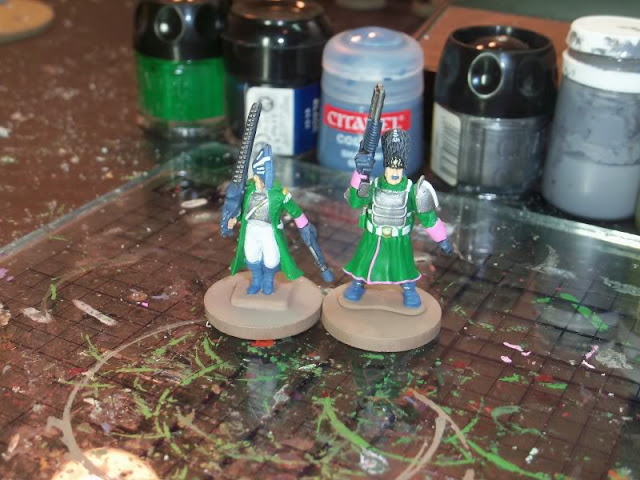
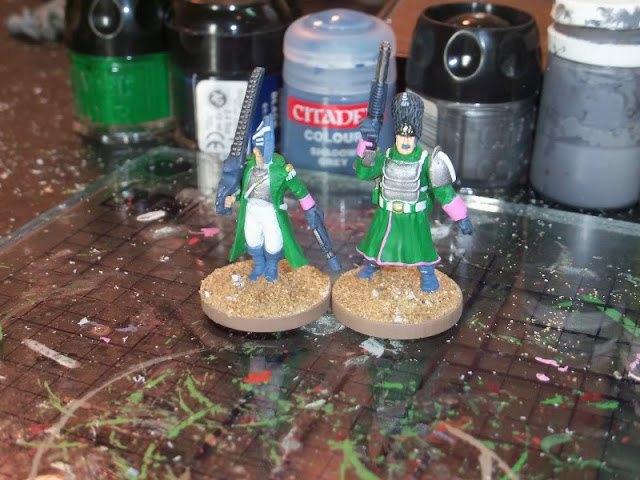
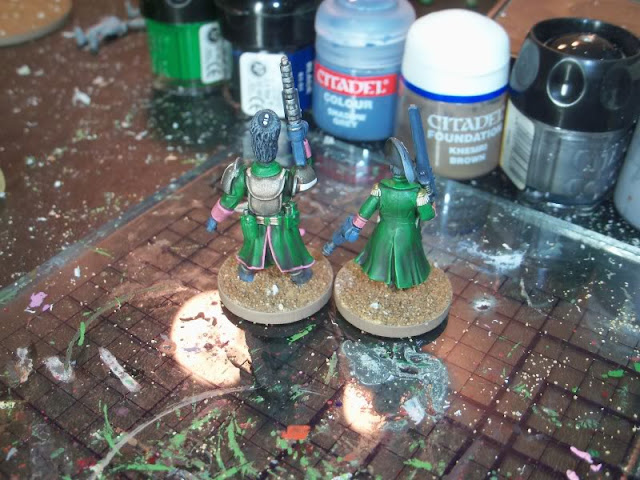
Step 14 - Devlan Mud wash over everything except fur hats, weapons, and gloves. This includes the sand on the bases. Also, try to avoid getting it on the white shoulder stripes. The first time I tried this, most of the wash ended up at the bottom of the coats. To fix this, I tried laying them down, after applying the wash, as you can see in the pictures below. The results turned out pretty well, with less of the wash pooling up at the bottom of the coats, and it made the coats turn out a bit darker. It helps shading in the folds that are higher on the coats, where the wash would just run out of if they figures were upright.
Step 15 - I did some touching up with Skull White on the straps, shoulder stripes, and pants that got too dark from the wash. I'm not sure if it would be better to do the wash first and then do the white. The belts would be brighter, but also lose some of their depth. I'll have to try it the other way, doing the Skull White after the wash, and see how it turns out.
Step 16 - Add Scorched Static Grass in clumps to the bases.
Step 17 - Gloss varnish with Krylon Crystal Clear Acrylic Coating Spray.
Step 18 - Matte varnish with Krylon Matte Finish Spray.
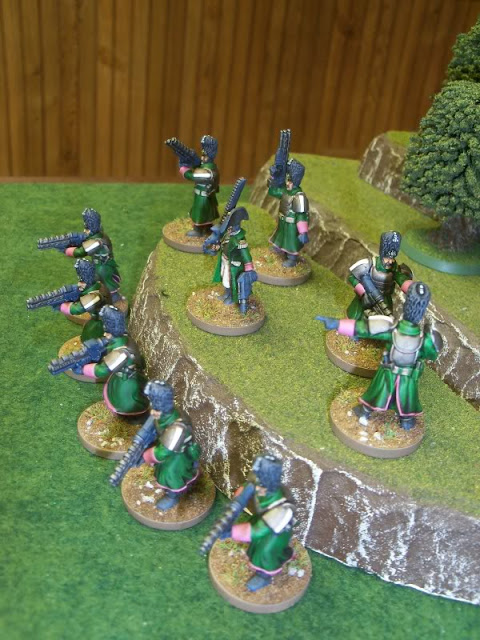
And here are a few pictures of the final results.
Subscribe to:
Post Comments (Atom)


No comments:
Post a Comment